Virtual and Augmented Reality together are now referred to as XR or “Extended-Reality”. You’re in the right place at the right time to build something amazing in XR!
XR applications can be created in Unity for many devices, our focus will be on Microsoft Hololens and the Oculus Quest 2 – in this blog post series we will specifically focus on Oculus Quest 2 in the latest Unity 2021.
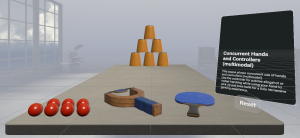
Wow – we’ve gotten a lot done for our XR experience!
So much so that it would be a shame to have something go wrong and not be able to go back to a previously working copy of our project. That’s where checking your Unity project into a code repository could save your day!
What is a Code Repository? A code repository or code repo is simply a place to backup your code. The beauty of a code repo is that is keeps a history of changes you make (every time you do what’s called a code commit). So if something goes wrong, you can go back to a older version of your code where it works. This has personally saved me many many times! Also, you work with other developers on the same project no matter where in the world they are. 🙂
Here’s my XR Step-by-Step blog series to help you create your XR experiences!
1) Installing the Tools you need for XR development == Unity 2021
2) Setting up your Oculus Quest XR project in Unity 2021!
3) Setting up Mixed-Reality Passthrough for your Oculus Quest XR project in Unity 2021!
4) Keep your XR project safe with a GitHub Code Repo!
5) Setting up Touch Controller for your Oculus Quest XR project in Unity 2021!
6) Coding your Touch Controller for your Oculus Quest XR project in Unity 2021!
Quick Reference summary of all steps to setup GitHub for your XR project, followed by the detailed Step-by-Step with images!
- Sign up for GitHub www.github.com
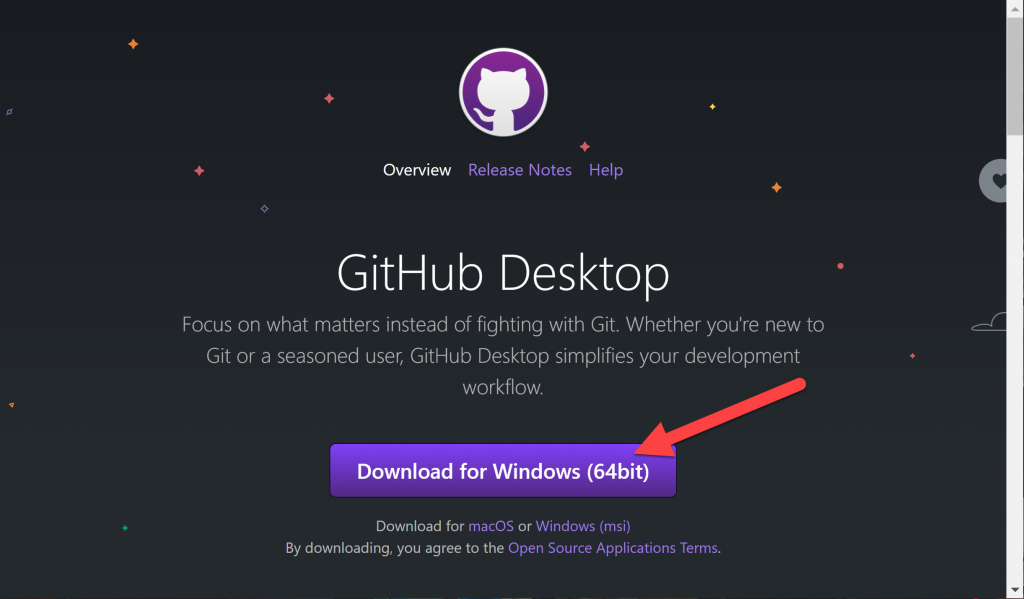
- Download GitHub Desktop https://desktop.github.com/
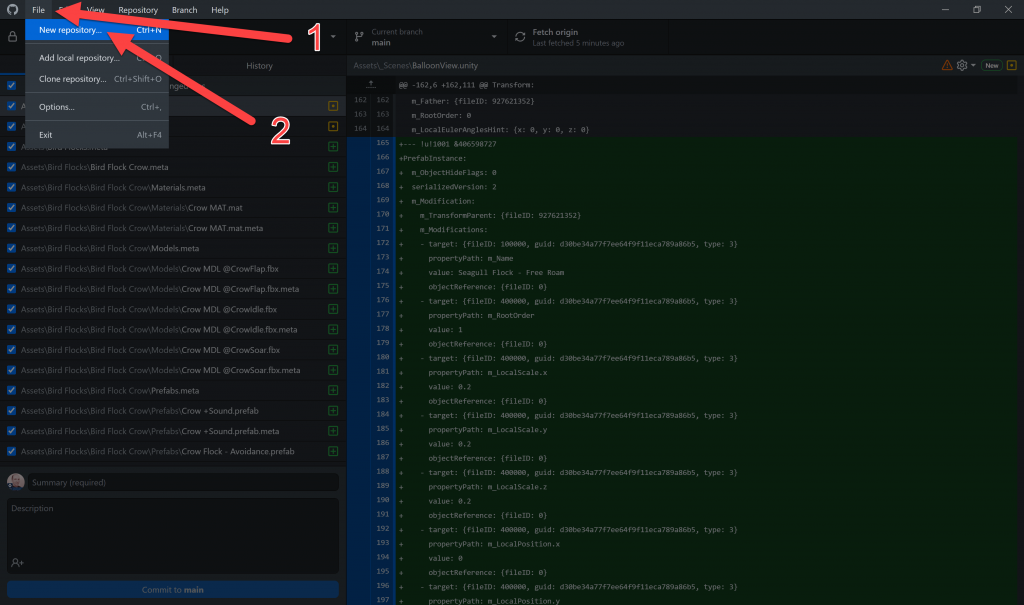
- (GitHub Desktop) (Toolbar) File -> New Repository
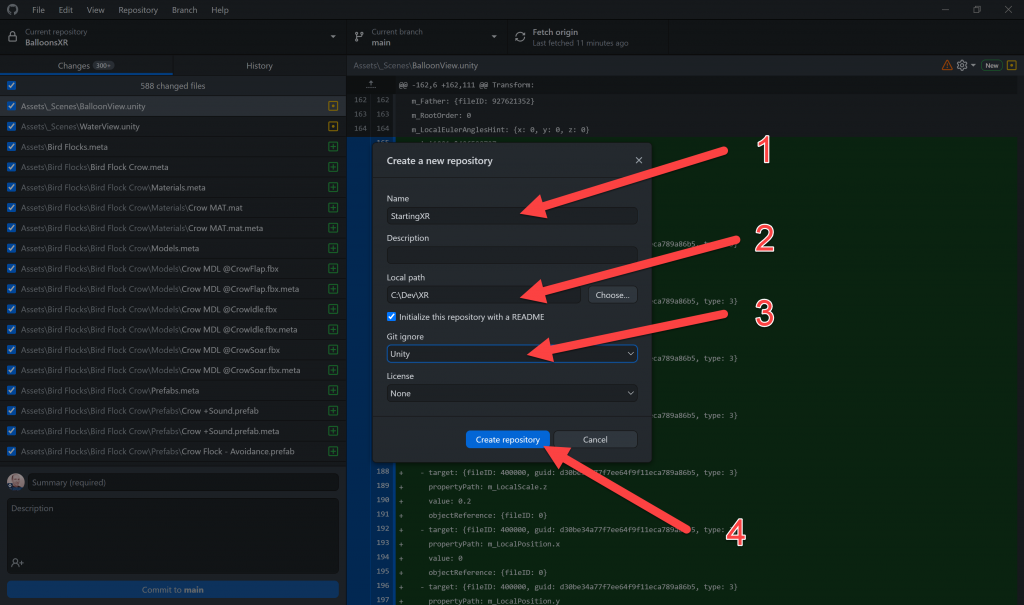
- (Create a New Repository)
- Enter the project Name (matching the directory name of your Unity project)
- Set the Local Path in which you created your Unity Project (does NOT include the Unity project name)
- Click Initialize this repository with a README
- Choose Unity in the Git Ingore dropdown
- Click Create Repository
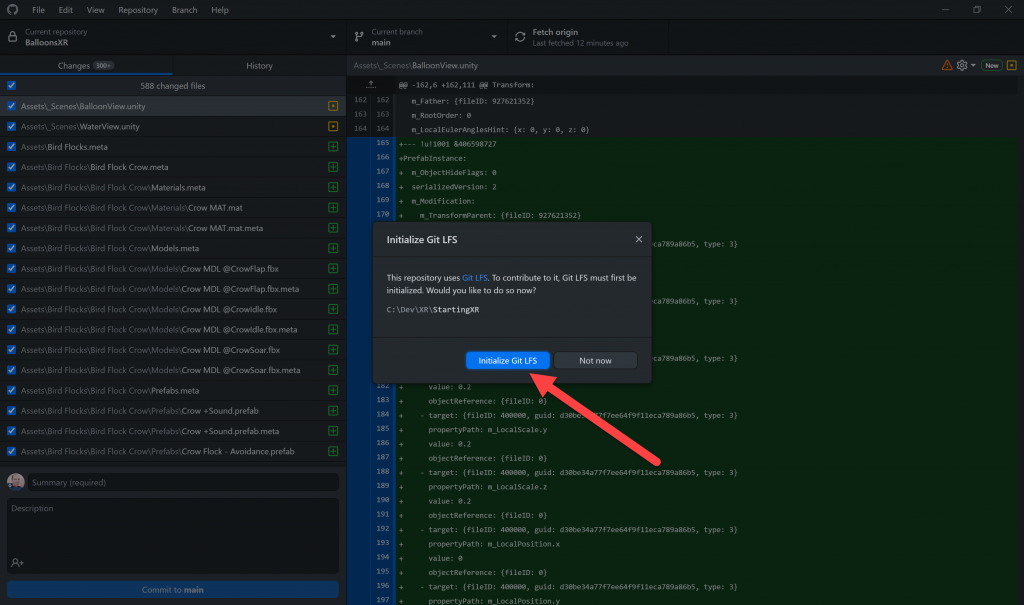
- (Initialize Git LFS) Click Initialize Git LFS
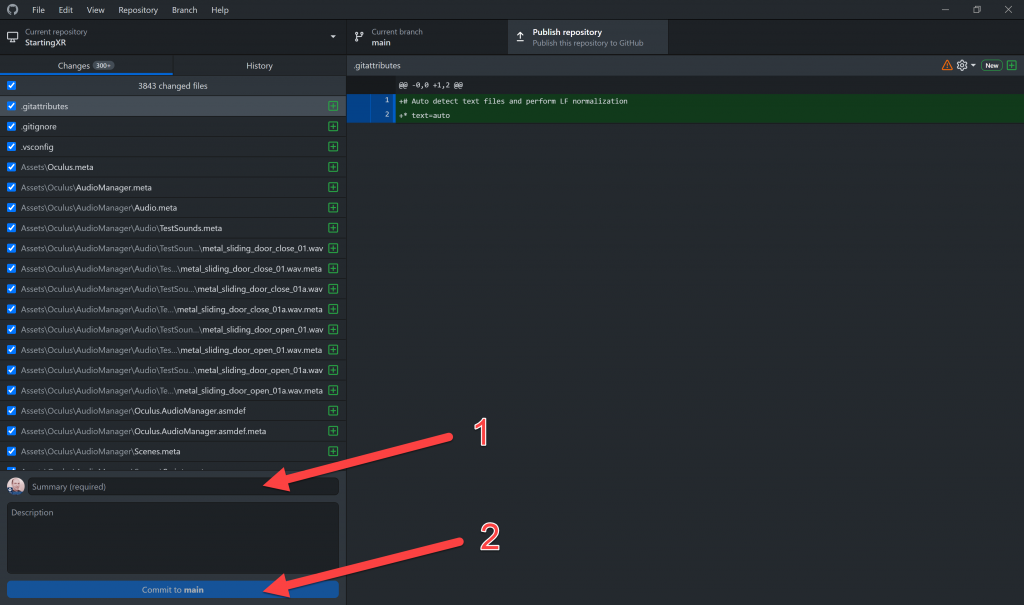
- (GitHub Desktop)
- Enter “Initial Checkin” in the Summary
- Click Commit to Main
- (GitHub Desktop) Click on Publish Repository
- For every change thereafter repeat the last steps above, adding a comment in the Summary that will help you remember what you were working on when you committed your code! Remember that future-you likes past-you better when they can understand what you actually checked in and why – so add brief but meaningful summary titles and keep future-you happy!
Full Step-by-Step Instructions!

- We’ll be using GitHub Desktop to manage our code repository – download it at https://desktop.github.com/
- (GitHub Desktop) (Toolbar) File -> New Repository
- (Create a New Repository)
- Enter the project Name (matching the directory name of your Unity project)
- Set the Local Path in which you created your Unity Project (does NOT include the Unity project name)
- Click Initialize this repository with a README
- Choose Unity in the Git Ingore dropdown
- Click Create Repository
- Files over 100MB need to use Git LFS (Large File System) – in Unity those occur often
- (Initialize Git LFS) Click Initialize Git LFS
- (GitHub Desktop)
- Enter “Initial Checkin” (or something) in the Summary as a note about code that you’re checking in.
- Click Commit to Main
- You now have all of your code checked-in locally on your computer! Let’s push those local updates to our GitHub repo to share with your team, etc
- (GitHub Desktop) Click on Publish Repository

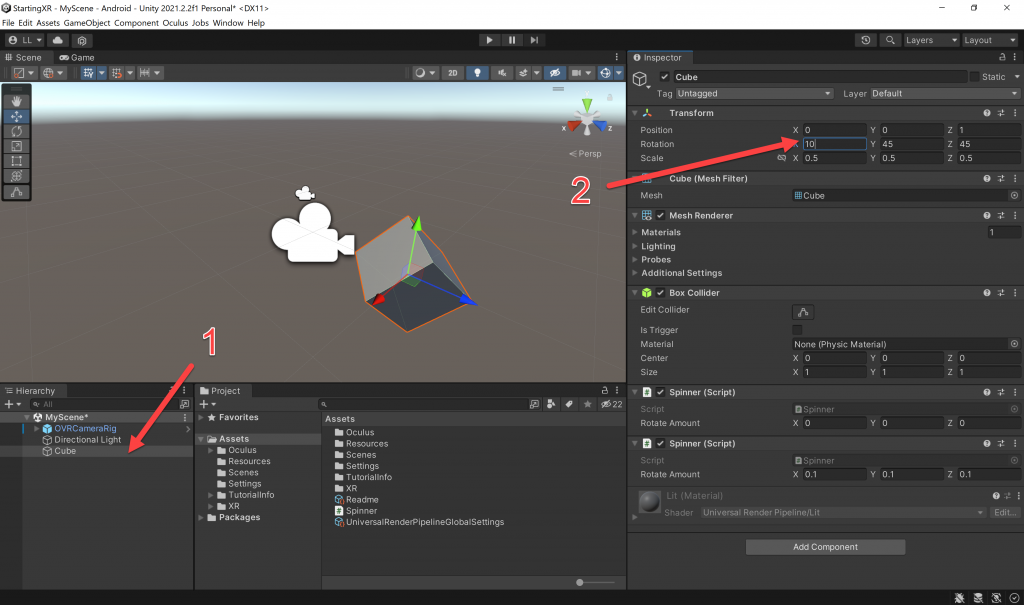
- Now let’s make a change and see what happens!
- Head back to your Unity project -> (Hierarchy) Click on Cube -> (Inspector) Change the X value in Rotation
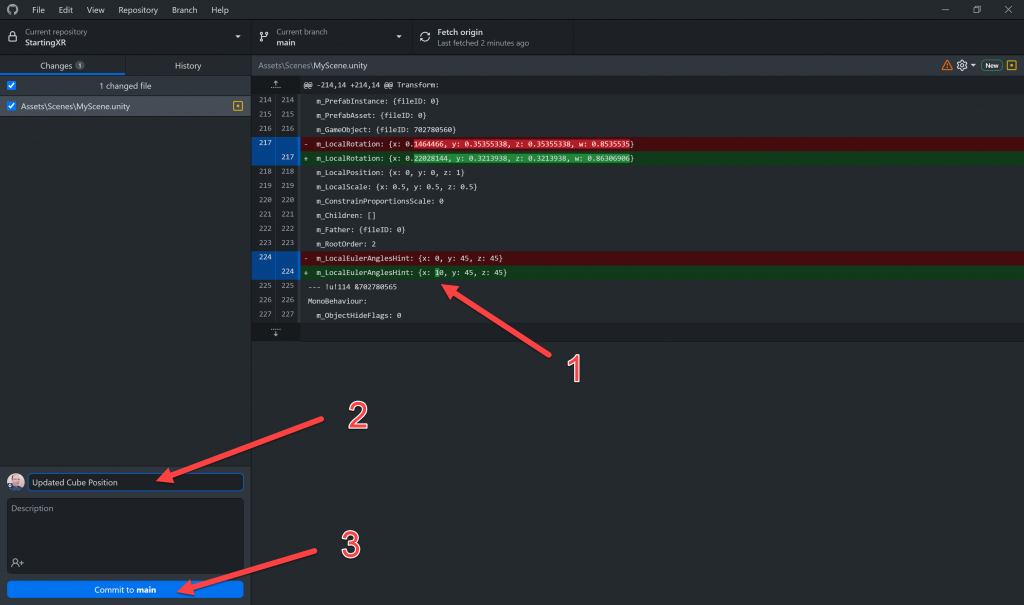
- (GitHub Desktop)
- We see the change to our X value! Let’s check that in…
- Summary -> Enter something like “Updated Cube Position”
- Click Commit to Main and everything is once again checked in!
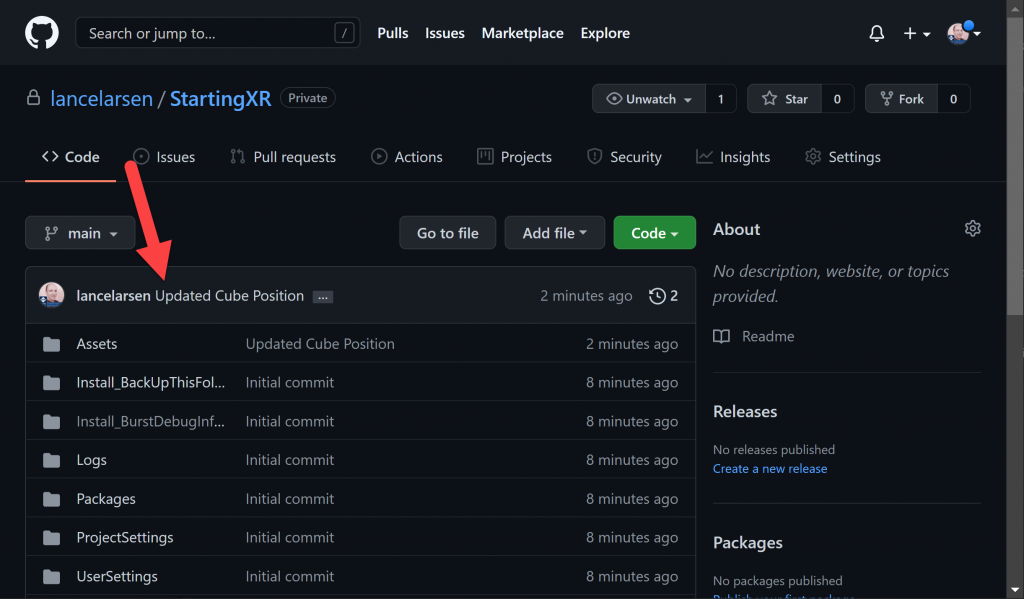
- Head on over to your GitHub Website account – you can now see your new code repo under your Repositories
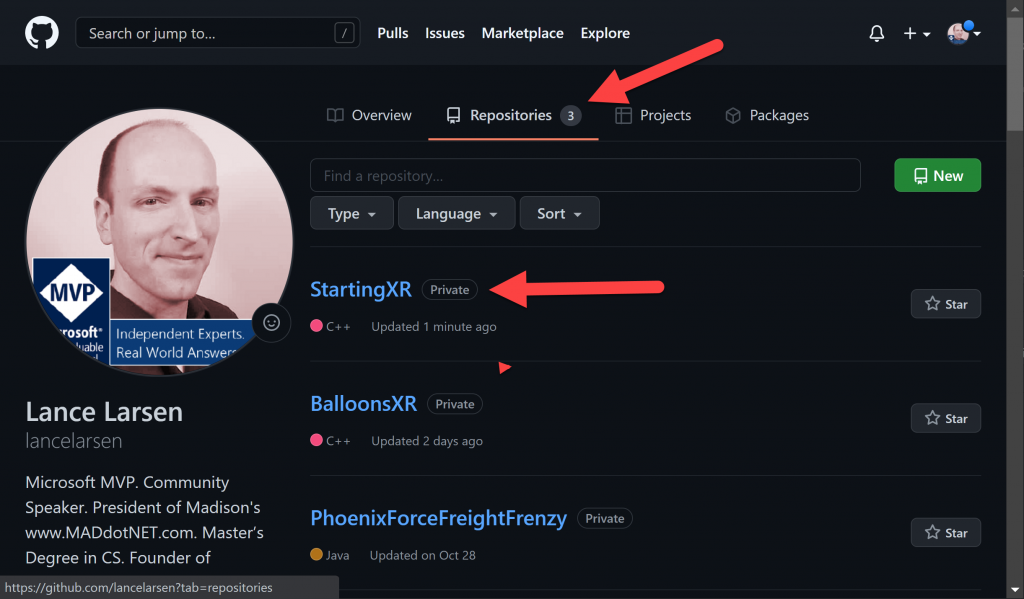
- Click on your new code repo and you can see that our latest Summary comment is there too!
- Addendum: When you commit your code, if you get a message that the files are too large (in excess of 100MB) – you need to enable LFS (Large File Size)
- Navigate to the directory -> right-click -> choose Git Bash Here
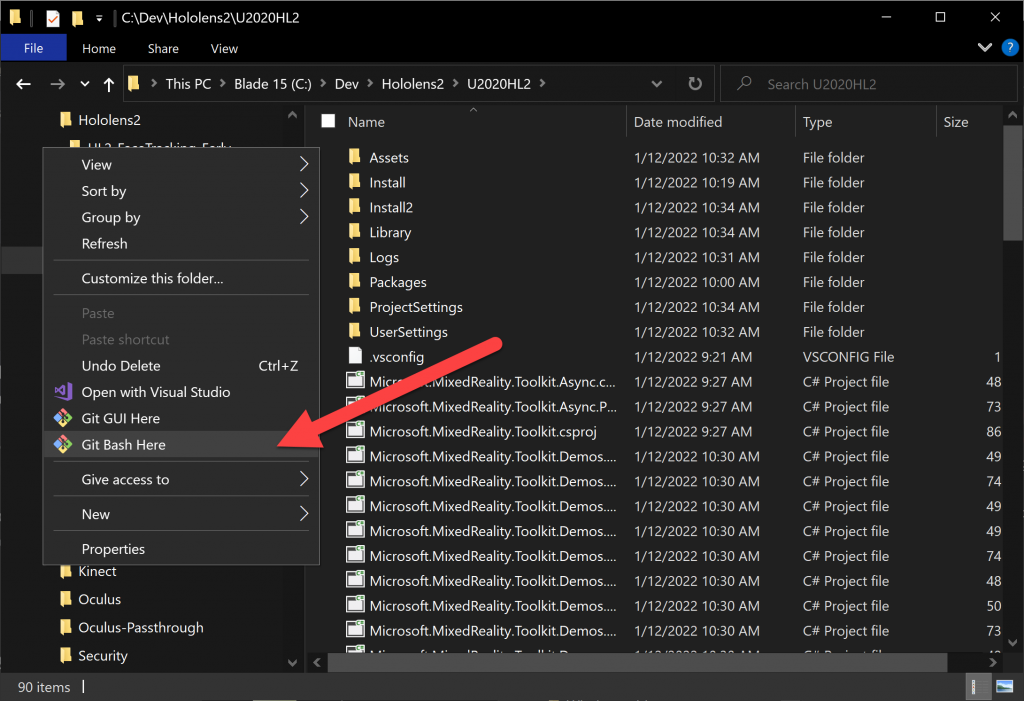
- You’ll want to note what file type(s) are the ones that exceed 100MB — in our case the *.obj files were were too big
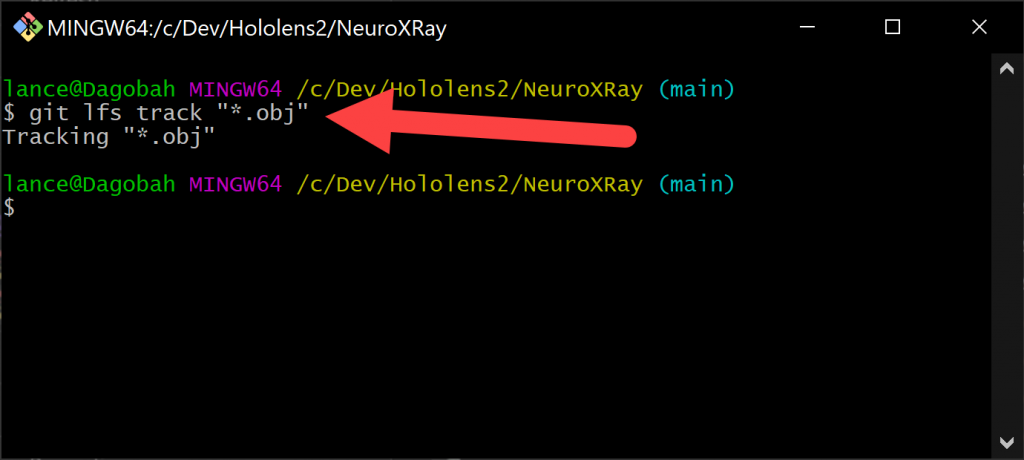
- Type git lfs track “*.obj”
- Now you should be able to go back and check those files in!
Love any feedback and see you in future XR blog posts.
Build something amazing in XR! — Lance
Here’s my XR Step-by-Step blog series to help you create your XR experiences!
1) Installing the Tools you need for XR development == Unity 2021
2) Setting up your Oculus Quest XR project in Unity 2021!
3) Setting up Mixed-Reality Passthrough for your Oculus Quest XR project in Unity 2021!
4) Keep your XR project safe with a GitHub Code Repo!
5) Setting up Touch Controller for your Oculus Quest XR project in Unity 2021!
6) Coding your Touch Controller for your Oculus Quest XR project in Unity 2021!

11 thoughts on “XR Step-by-Step! Keep your XR project safe with a Github Code Repo!”