 Greetings fellow Holonauts! In the continuing saga of Holographic awesomeness – here are updated Step-by-Step visual instructions for setting up your Unity 3D application to run on your HoloLens with the all new version of Unity 5.5.1!
Been very busy working on Hololens applications for clients and potential clients – and I’m now working on new presentations and blog posts for some very exciting Hololens / AR / VR topics! Strap-in and follow along.
Always refer back to “A Holonaut’s Guide: HoloLens Development Resources” for everything you need and links to all things HoloLens!
Don’t forget to join myself and others in keeping up with everything new for HoloLens / AR / VR news – follow HoloSoft on Facebook – and visit our HoloSoft site!
So – start by downloading the newest version of Unity – at this time 5.5.1 – the free version is excellent and does everything we need.


Now my Holonaut, let’s dive into creating your first Hololens Holograms!
These are the installation components that I chose when installing…

1) Once installed (which can take a while) – launch your Unity Studio, and let’s start a New Project.

2) Enter the Project Name and Location for your new project.
3) Make sure you have 3D selected.
4) Then Create Project

5) When the Unity project launches, select Main Camera in the Hierarchy section (far left).
6) Note that the Inspector section (far right) will show the details of our camera.
7) As the HoloLens is the center of our Universe, we need to change the Inspector > Transform > Position to X: 0 Y: 0 Z: 0

8) When using a HoloLens we want to see the real-world, so we need to make the background transparent.
9) We do so by selecting Camera > Clear Flags and setting it to Solid Color

10) The Solid Color that we need is black, so make sure Hex Color is 00000000 (just drag the color selector to the bottom-right)
11) IMPORTANT – if not set all the way to 00000000 – this will cause your deployed Unity app on the HoloLens to be show in 2D.

12) File > Save Scene ( or Ctrl-S ) – name it “HoloLens” – which you’ll then see appear in your “Assets”


13) File > Build & Run – brings up our Build Settings dialog box

14) In Build Settings > Platforms > select Windows Store and then click Switch Platform


15) In Build Settings > Windows Store > SDK – change it to Universal 10

16) In Build Settings > Windows Store > UWP Build Type– change it to D3D (Direct3D)

17) In Build Settings > Windows Store > check the Unity C# Projects option

18) In Build Settings –> click the Player Settings button

19) In the Inspector section (far right) > scroll down to you see Other Settings section.
20) IMPORTANT – Check the Virtual Reality Supported option. If you don’t then when you deploy to the HoloLens the application will be launched in 2D not 3D


21) In the Inspector section (far right) > expand Publishing Settings > scroll down to Capabilities section.
22) Scroll down with the Capabilities scroll bar and check the Microphone option – will allow us to use voice commands.


23) Check the SpacialPerception option – allowing the HoloLens to detect its surrounding environment.

24) In order for us to see something when we deploy to our HoloLens, let us add a sphere – so close the Build Settings.
25) In the Hierarchy section (far left – near top) > click Create dropdown > 3D Objects > Sphere.


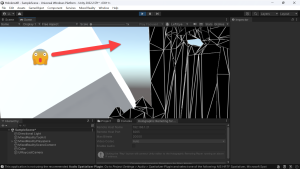
26) Let’s position the sphere to be in front of us – so change the Inspector > Transform > Position to X: 0 Y: 0 Z: 2
Where Z is the distance away from us as seen by the blue arrow.
27) Also, lets make the sphere smaller, change the Inspector > Transform > Scale to X: 0.2 Y: 0.2 Z: 0.2.

28) Lets connect to our HoloLens – see my previous article on “HoloLance is Online! Connecting your PC to your HoloLens”

29) Save your project – File > Save Scene ( or Ctrl-S )
30) Once again, File > Build & Run – brings up our Build Settings dialog box. Click Build.
31) You will be prompted to create a C# build folder – Build Windows Store dialog > New Folder > name it “App” (this could be anything btw – but so far “App” is the common practice)


32) The new “App” folder should pop up – click your *.sln file ( in this case BubblePopVNext.sln ) – which brings up our new UWP (Universal Windows) application in Visual Studio.


33) In Visual Studio > change to Release

34) In Visual Studio > change to x86

35) In Visual Studio > change to Remote Device

36) As seen previously in your “Microsoft Hololens” app, enter the IP Address for your HoloLens

37) In Visual Studio > Build (F5) your project
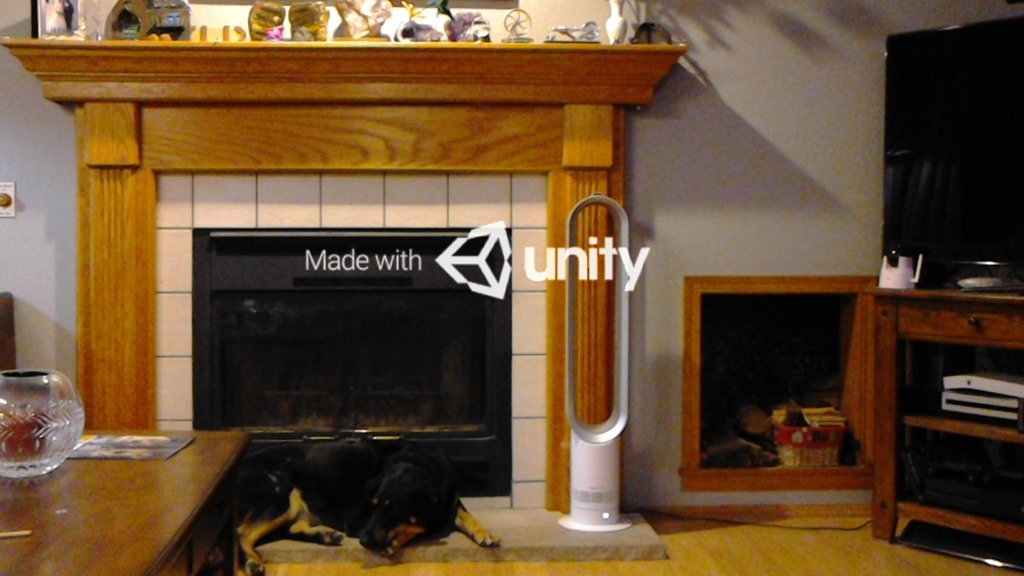
38) If all deploys as expected (which sometimes takes a restart of either the HoloLens or Visual Studio) – you’ll see Made with Unity appear.
39) Then your first Hologram from Unity appears!!! Walk around it – it’s truly amazing.
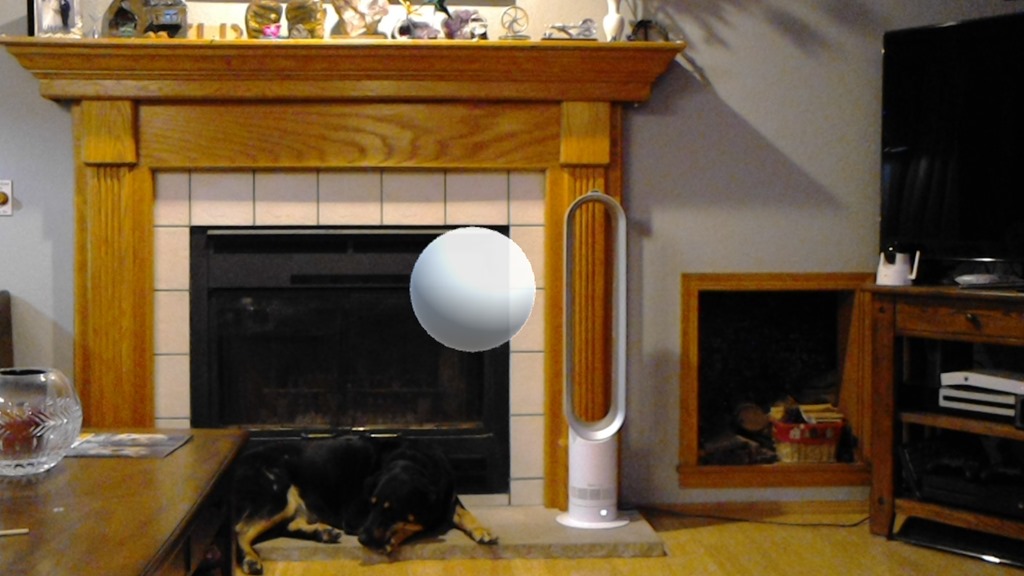
 Congratulations you are now a Holonaut!